
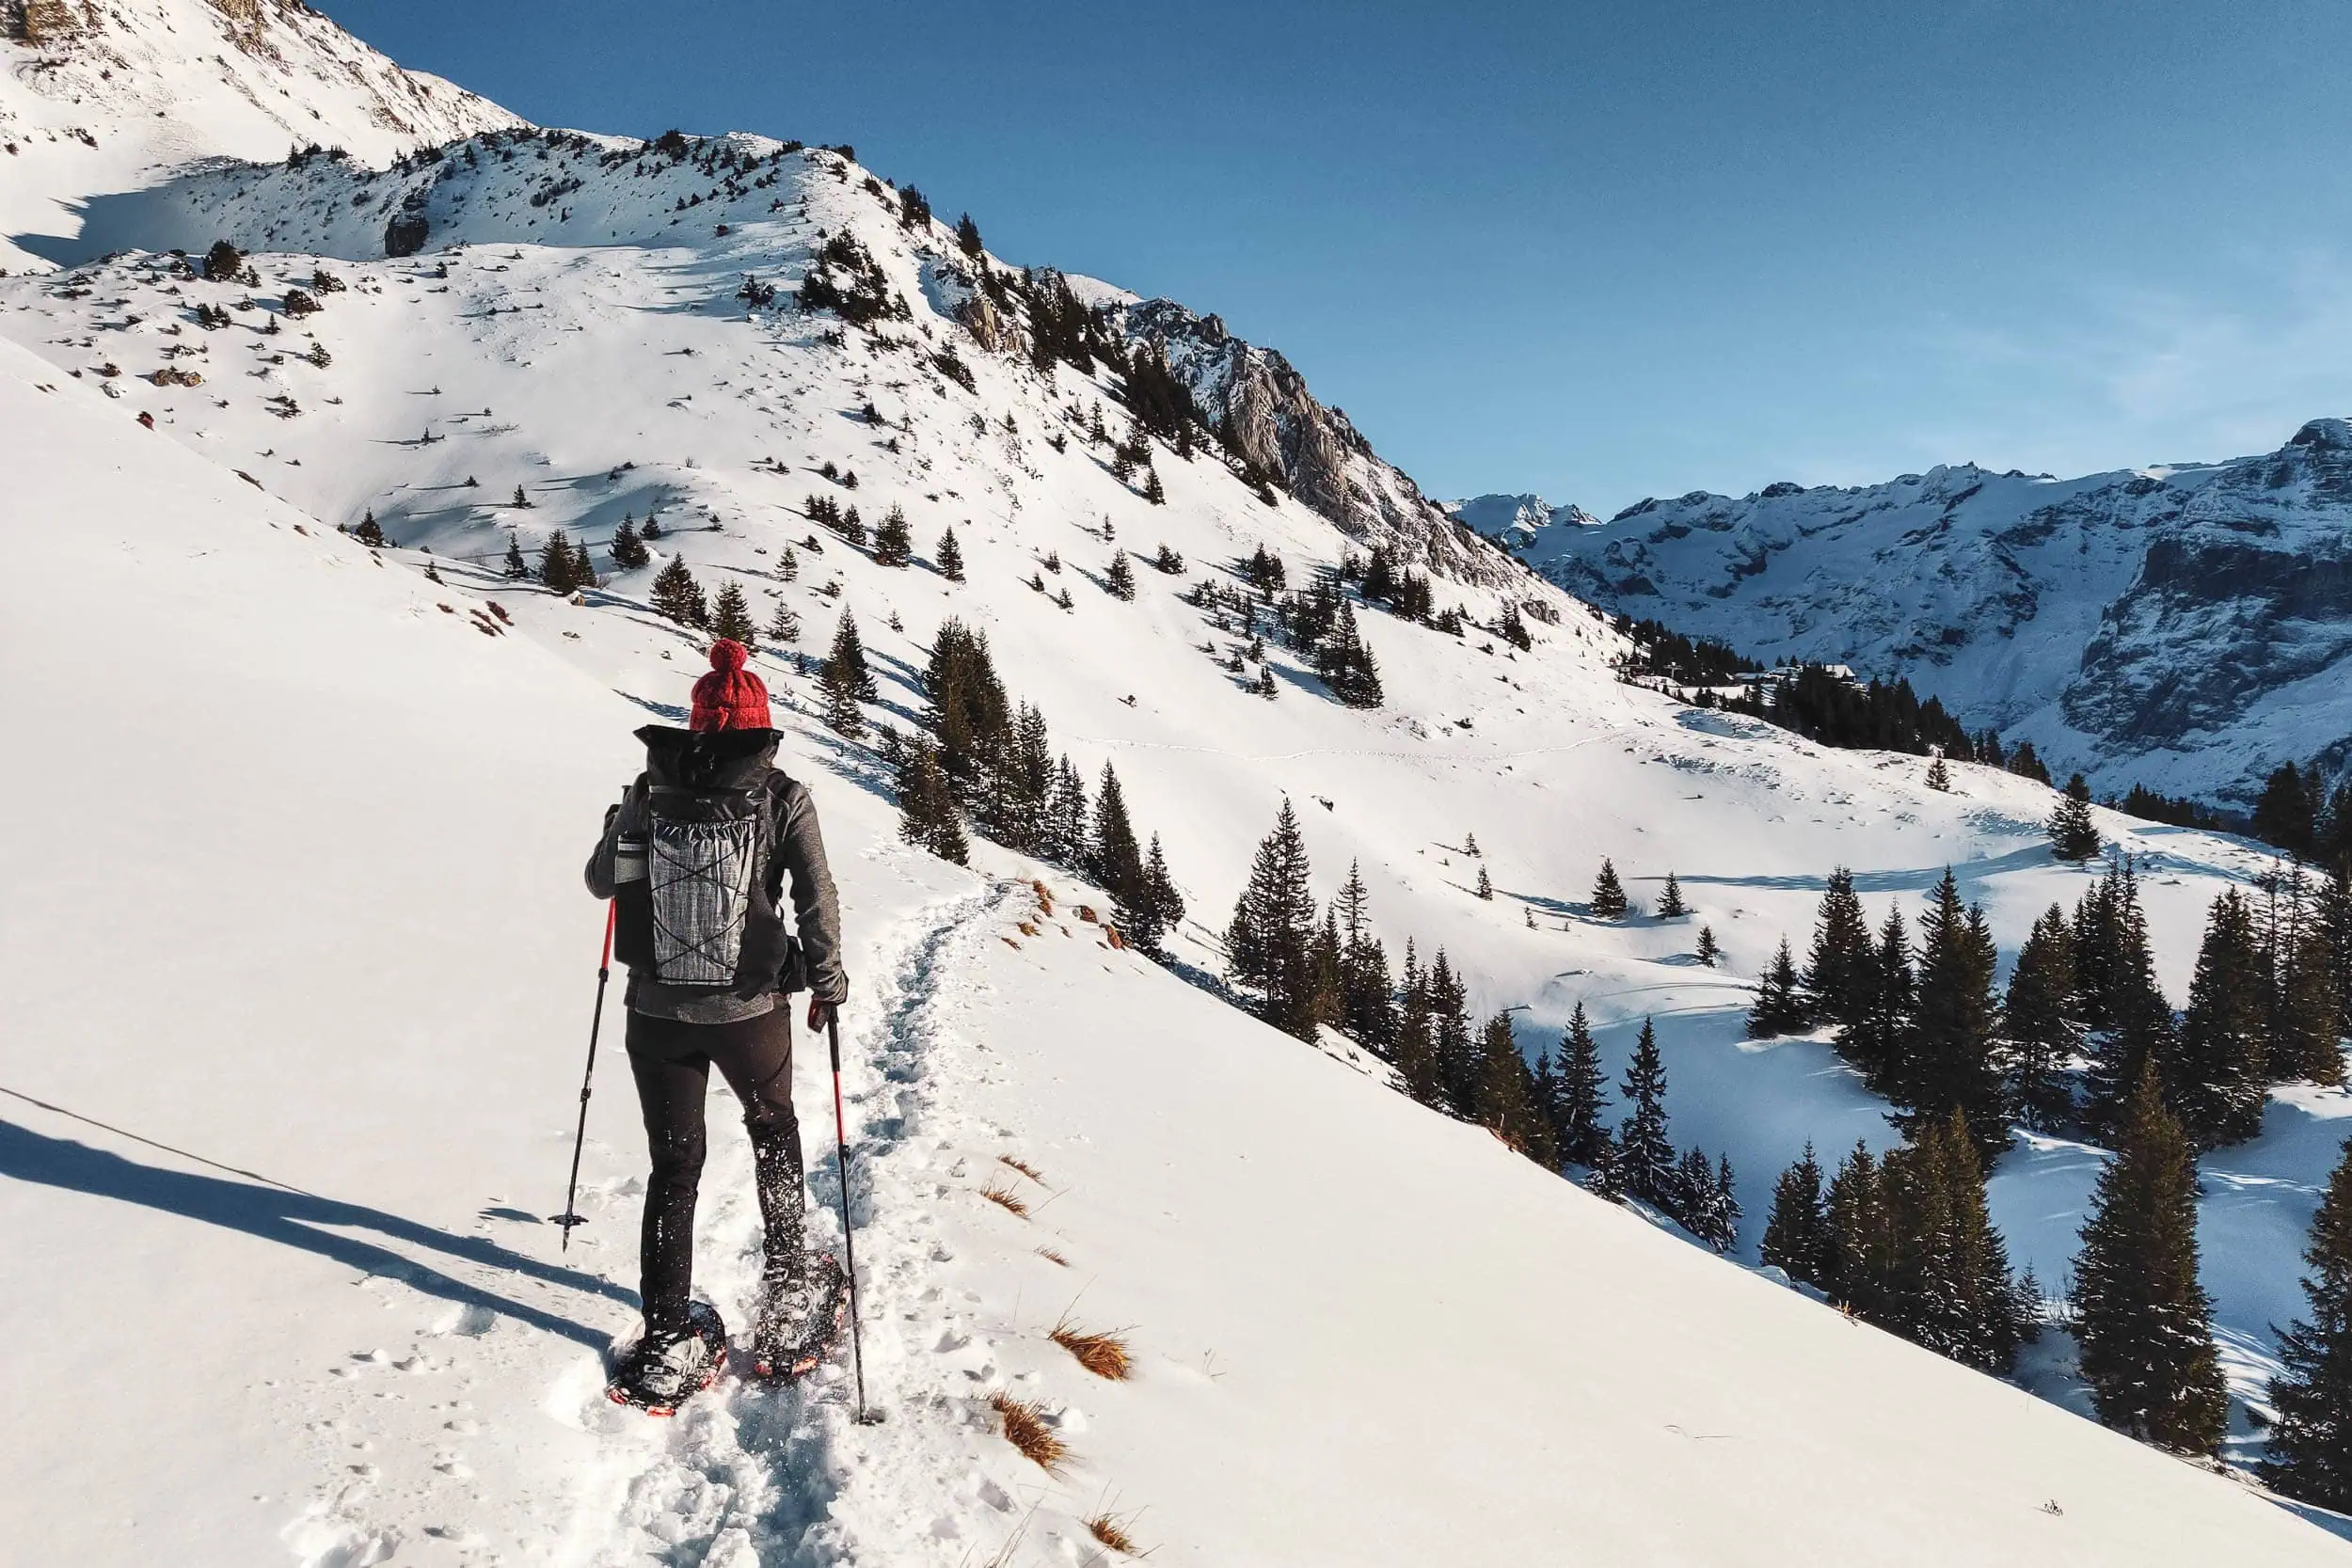
Snowshoeing is the most accessible way to get into the mountains in winter. You don't need downhill technique, ski touring bindings or years of practice. If you hike in summer, you can do this too. But that's precisely where the problem lies: the barrier to entry is low, the terrain isn't.
This guide goes through step-by-step what you need, what it weighs, and where the line is drawn between a leisurely tour and serious avalanche terrain. With gram counts, because they matter more in winter than in summer, and with a statistic that hardly appears in any equipment article.
Snowshoeing: When you really need them
The first honest answer is: often not at all. On groomed winter hiking trails, such as almost every tourist region signposts, the snow is packed down. Normal winter boots will carry you there, and your snowshoes dangle uselessly from your rucksack. What you really need on such groomed trails is in the Winter walking guide.
It gets interesting away from that. My rule of thumb from numerous winters: From about 20 to 30 centimetres of loose snow making every step to work a struggle, because with every stride you sink in and have to pull your leg out again. From that point on, snowshoes make up for many times their own weight. Below that depth, they tend to be a hindrance because you walk with a wider stance and trip over your own edges.
The second thing nobody mentions: snowshoes don't make you weightless. You sink in less, but you do sink in. In really deep powder you still break trail knee-deep with snowshoes, just not hip-deep.
What makes this sport so special is precisely that: the slowness. On a snowshoe tour on the Fürenalp near Engelberg, at the end of December, we were lying on the slope at midday and I was seriously worried about getting sunburnt on my arms. In the morning it was still minus three degrees down in the valley. Three kilometres of distance, a good 170 vertical metres, two hours. By summer standards laughable, in winter a full day's rest.

The snowshoes: size, flotation, weight
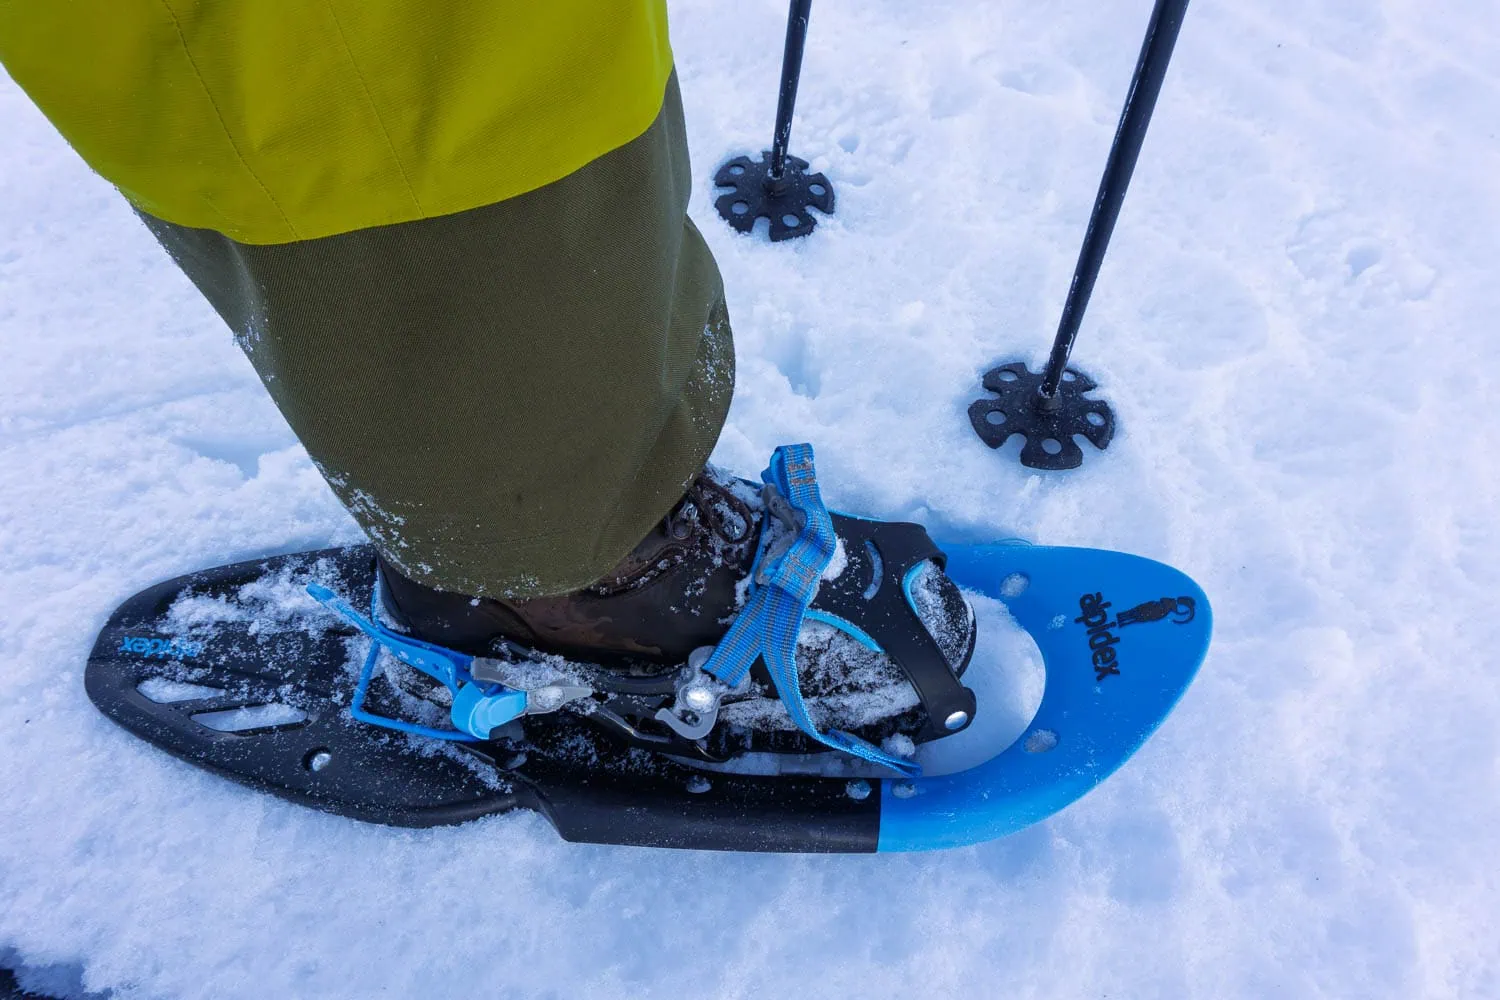
You buy snowshoes according to the weight they are intended to carryyour body weight plus clothing plus packed rucksack. Shoe size and the bathroom scales alone don't tell you anything about that.
| Weight incl. rucksack | Size | Practical tip |
|---|---|---|
| up to 70 kg | 22 | Agile, good for narrow paths and steeper terrain. In deep powder, just about sufficient. |
| 70 to 100 kg | 25 | The standard case. Covers most tours with a daypack. |
| over 100 kg | 30 | More lift, but a wider gait. Takes a few hundred metres to get used to. |
The classification comes from the standard manufacturer recommendation[4] and works as a starting point. If you are between two sizes and spend a lot of time in the woods or on steep terrain, choose the smaller one. Floatation only helps you in shallow powder, everywhere else agility is more important.
Aluminium frame or plastic
Aluminium frame models with a tensioned plastic deck offer more buoyancy per gram and have the advantage in open areas. All-plastic models are more compact, grip better in hard snow with their crampons, and are the better choice in steep, alpine terrain. For beginners in low mountain ranges and on forest tours, the difference is smaller than the product descriptions suggest.
In terms of weight, the practical range is between approximately 1,500 and 2,000 grams per pair. A common alpine model in size 25 weighs around 1,980 grams. Anything above that you will definitely notice after three hours. Well below that, you usually end up with very models with a heavily shortened deck. They save weight through surface area, and that is precisely what you need in deep snow. They are good as a climbing aid on packed or hard surfaces, but not as a flotation aid in powder.
Winter hiking boots: why feet still get wet
Every guidebook says „waterproof shoes“. That is correct and yet only half the truth, because when snowshoeing, wet feet are primarily caused by your own sweat. When breaking trail, the membrane cannot keep up with moisture transport, the thick wool sock soaks through and loses its insulation precisely when you stop for a break.
For a while, I experimented with mid-height shoes and gaiters. Whenever there was more than twenty centimetres of snow, I ended up with pretty wet feet every time. Since then, my rule is: if there is more than about ten centimetres of snow, high trekking boots go on my feet. That's unrefined for an ultralight person, but cold toes are more unpleasant.
Gaiters are added to this. They are recommended for snowshoes: with every step, the binding kicks up snow, which, without a gaiter, lands right inside the top of the boot.

The layering system: staying warm without sweating
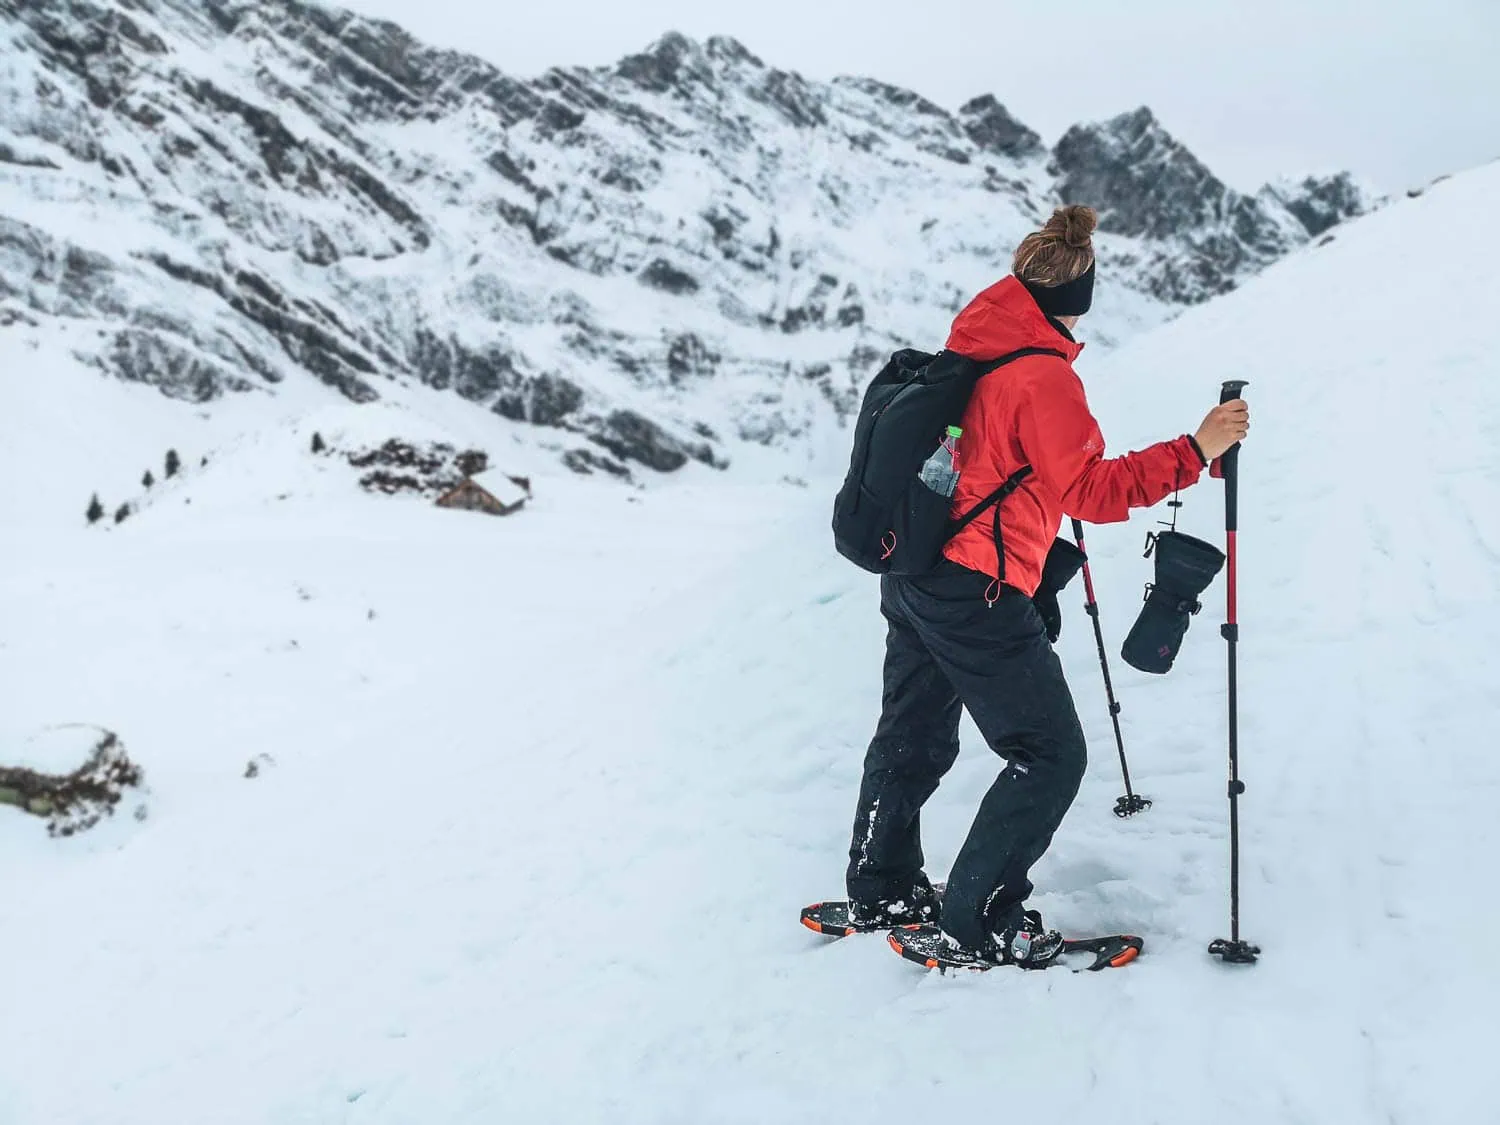
The mistake almost everyone makes happens in the car park: dressing too warmly. After ten minutes of climbing in deep snow you'll be drenched in sweat, and during the first break you'll freeze. Wear one layer less than feels right when you set off.
This here is my system for a day-long snowshoe tour between roughly zero and minus ten degrees. All weights are weighed on my own gear.
| shift | Weight | Role and experience |
|---|---|---|
| Merino T-shirt | 142 g | Base layer directly against the skin, stays on all day. |
| Merino long-sleeved top | 230 g | Second layer. When climbing, that plus wind protection is usually enough. |
| Fleece midlayer | 297 g | This comes down when your own heat production drops. |
| Primaloft insulation jacket | ~400 g | The insulation layer you can also walk in. Keeps you warm even if it gets damp from the inside. |
| hard-shell jacket | 240 g | Wind and snowfall. When the sun comes out, it stays in the rucksack. |
| down jacket | 359 g | Pure belay jacket, otherwise sits right at the top of the rucksack. Offers the best warmth-to-weight ratio, but loses this when wet. |
| Mittens | 53 g | Warmer than mittens, because less surface area. Over the thin work gloves. |
| Beanie | 61 g | Kept dry for the break. |
| Merino Buff | 39 g | Worn doubled-up as a hat on the ascent. Gets soaked with sweat, which is why I switched to a dry hat during the break. |
Two insulated jackets sound like too much, but they are the core of the system. The Primaloft jacket is the layer you can walk inSynthetic fibre still keeps you warm even when it gets damp from the inside, and that is precisely what happens when you are tracking. The The down jacket is the break-time jacket. It provides significantly better warmth per gram, but loses this performance as soon as it absorbs moisture. That is why it stays in the backpack until you stop. Anyone who only wants to take one of the two should take the Primaloft in damp, cold weather around freezing point and the down in dry cold.
Two details that do more than any expensive jacket. First, the glove onion method: thin work gloves down to about zero degrees, with mittens over the top when it gets colder. Two thin layers beat one thick glove because you have finer control. Second, the hat change. Your head sweats on the ascent, the buff absorbs that, and during the break the dry hat goes on. A wet hat during a break is a sure way to freeze.
At temperatures below minus fifteen degrees, the priority shifts anyway. What is the use of a super-light pair of gloves when your fingers are half-frozen? In the depth of winter, function wins over grams. That is precisely what the ultralight ethos is all about.
Avalanches: the number every snowshoer should know
Now for the bit that most gear reviews deal with in two sentences. It belongs here because it's what puts the rest into context.
The Swiss Federal Institute for Snow and Avalanche Research analysed accidents from 2005 to 2015. Result: On Ski and snowboard touring accidents account for around 22 times as many avalanche incidents like on snowshoeing trips. But if it Snowshoers caught, more than three times as many die so many.[1]
The reasons cited by the researchers are uncomfortable: snowshoers less frequently carry complete emergency equipment, and companion rescue is less efficient. In other words: the terrain on snowshoe tours is the same as on ski tours; what is worse is the preparation. And that is precisely what can be changed.
The German Alpine Club puts it clearly: Off the beaten track, avalanche transceiver, probe and shovel are standard, together with their safe handling. To this first-aid kit, bivouac sack and mobile phone. Further specific requirements: a minimum spacing of ten metres when ascending and in the run-out areas of steep slopes, crossing gullies one at a time, and groups of no more than six people.[2]

And the one number for the terrain: An avalanche needs around a 30-degree slope gradient, to even touch upon. They are most frequently triggered on slopes of 35 degrees and above.[3] What you make of it depends on the danger level, which you read in the avalanche bulletin before every trip. A slope inclinometer on the map or in the touring app costs nothing and answers the most important question of the day.
This is where ultralight and winter safety do not contradict each other, but rather depend on one another. Emergency equipment weighs around one kilo. Anyone who leaves it at home because otherwise the rucksack becomes too heavy has saved at the wrong end. Anyone who instead consistently optimises their rucksack, clothing and kitchen has this kilo to spare without the trip becoming any heavier.
An avalanche course does not replace equipment, and equipment does not replace a course. If you want to regularly head off-piste, a course with the Alpine Club is the most sensible investment on the whole list.
The packing list for the day snowshoe tour
All weights have been weighed or realistically estimated. The list applies to a day tour in a low mountain range or in easy alpine terrain.
| Item | Weight | Comment |
|---|---|---|
| waterproof walking boots | 1,800 g | By far the heaviest single item. With around 10 cm of snow or more, there is no alternative. |
| walking trousers, water-resistant | 400 g | A softshell is enough as long as continuous snowfall isn't forecast. |
| long merino underpants | 203 g | The legs cool down faster when standing than the upper body. |
| Merino T-shirt and long-sleeved shirt | 372 g | Just the base layer. Fleece, insulated jacket and hardshell come out of the rucksack as soon as you stop or it gets colder. |
| Merino walking socks | 63 g | Plus liner sock and vapour-barrier layer in severe cold. |
| Functional underwear | 50 g | |
| Thin gloves | 42 g | Bottom layer of the glove onion. |
| Merino Buff | 39 g | Doubled over as a climbing beanie. |
| Item | Weight | Comment |
|---|---|---|
| Primaloft insulation jacket | ~400 g | The jacket you can keep wearing even while walking, without it being ruined by sweat. |
| down jacket | 359 g | Only comes out during the break, which is why it's right at the top of the rucksack. |
| Fleece midlayer | 297 g | The layer you put on and take off most often on the move. |
| hard-shell jacket | 240 g | Stays in the rucksack all day in the sunshine and still has to come along. |
| Beanie | 61 g | The dry reserve for the break, packed separately from the buff. |
| Mittens | 53 g | Second layer over the thin gloves as soon as it gets colder. |
| Item | Weight | Comment |
|---|---|---|
| WeitLäufer Minimalist, 30 L | 340 g | My frameless companion for day hikes. You don't need any more volume, and any less gets tight as soon as the down jacket is inside. |
| Alternative: Agilist, 54 L | 570g | Replaces the Minimalist on this tour. Only worth it once the day tour becomes a hut-to-hut tour. |
| trekking poles with snow baskets | 350 g | Without large baskets, the poles sink right up to the grip. Small summer baskets are no good. |
| Vacuum flask 0.75 L | ~350 g | Heavier than a bottle, but hot. Ginger tea left to steep for a long time warms you from the inside. |
| First-aid kit | 150g | Including blister plasters, the binding chafes in unfamiliar places. |
| Handy | 146 g | Battery lasts significantly shorter in the cold, carry it close to the body to keep it warm. |
| bivvy bag | 108 g | The cheapest emergency protection there is. |
| Map and compass | Approximately 80g | Trail markings are often covered in snow in winter. |
| Headlamp | 79 g | It starts getting gloomy from 4 pm. Daylight disappears faster than you'd like. |
| Sunglasses | 41 g | Snow is extremely reflective; snow blindness is a real risk. |
| Item | Weight | Comment |
|---|---|---|
| Avalanche shovel, aluminium | ~550 g | Plastic blades break in hard avalanche snow. No place to skimp. |
| Avalanche probe, 240 cm | ~250g | Shorter models hardly save any weight and cost range. |
| avalanche transceiver | ~210 g | Only makes sense if everyone in the group wears one and searching has been practiced. |

| Category | Weight |
|---|---|
| Clothing on the body | 2.969 g |
| Snowshoes (size 25) | ~1.980 g |
| Equipment in the rucksack | ~1,644 g |
| Clothes in the rucksack | ~1.410 g |
| Avalanche emergency kit | ~1,010 g |
| Consumer goods (1.5 litres plus provisions) | ~2,000 g |
| TOTAL | ~11,013 g |
A good eleven kilos sounds like a lot, and in summer it certainly would be. But the interesting figure lies in the breakdown: you’re carrying a good 6,000 grams of that on your back. The rest is distributed across your feet and body, where you have little control over it. So if you want to save weight in winter, the main thing you can adjust is the contents of your rucksack.
Walking techniques and route planning
The technique is easy to explain, as it’s similar to normal walking. After a few minutes, everyone gets into their stride. The rest is down to planning, and that differs significantly in winter compared with summer.
Assume half the summer output.
Three kilometres and 170 vertical metres can take two hours in deep snow. Summer distance measurements are therefore of little help to you, so plan generously and plan a short route. It starts getting dusk from 4 pm.
When climbing, walk on the balls of your feet.
The heel lifter under the heel (a fold-up bar on most models) takes a lot of strain off the calf. Flip it out on longer ascents, otherwise your calves will burn after three hundred vertical metres.
Step heel first when going downhill.
Unlike normal hiking, you walk downhill consciously heel first and with your knees slightly bent. The spikes under the ball of your foot then grip properly, instead of you slipping on the deck.
Cross at the edge of the mountain.
When traversing, you weight the uphill edge of the snowshoe and step it into the slope. Anyone who steps flat will slip. On hard terrain, microspikes are a better choice than snowshoes.
Share the track work.
The person at the front works significantly harder than everyone behind them. Change positions in the group every ten to fifteen minutes, then you will get there faster overall and no-one is exhausted at the end.
Keep your distance where it gets steep.
Cross steep slopes and gullies one by one, with a gap of at least ten metres between each person when ascending and in run-out zones. This costs nothing and is the most effective individual measure in avalanche terrain.
Regarding the area: You don't need the Alps for your first tours. In Black Forest in good winters there is enough snow for weeks in the high altitudes around Feldberg and Belchen, the terrain is mostly moderately sloped and the forest offers structure when visibility is poor. We have been testing here for years, in summer as well as in winter.

Consideration for wild animals in winter
Winter is the hardest time of the year for deer, chamois and above all capercaillie. Every flight costs energy reserves that cannot be replaced. A startled animal can cope less well with a disturbance in January than with three disturbances in July.
In practical terms this means: stay on paths and existing tracks, avoid forest edges and thickets at dusk, do not enter afforestation areas and respect wildlife protection zones. These usually apply from 15 December to 30 April.[2] Plan the route around these zones from the start, then the question won't even arise along the way.
Frequently asked questions about snowshoeing
From about 20 to 30 centimetres of loose snow, they are definitely worth it. On prepared winter walking trails you generally don't need them; sturdy winter boots are enough there.
The size depends on your body weight, including clothing and packed rucksack: size 22 is for 22 to 70 kilos, size 25 is between 70 and 100 kilos, and size 30 is for anything above that. If you spend a lot of time in the woods or steep terrain, go for the smaller one if in doubt.
Away from secured paths yes, that is the clear recommendation of the German Alpine Club. On prepared winter walking trails without steep slopes above them, no. They are also only of any use if everyone in the group has them and practice in searching has been mastered.
Ankle-high to high, waterproof walking boots with a firm sole. From about ten centimetres of snow, the high upper is a clear advantage. Gaiters are a must, as the binding kicks snow upwards with every step.
The technique is easy to learn, but the physical effort required in deep snow is high. Expect about half the performance of a summer hike. Three kilometres with 170 metres of elevation gain can easily take two hours.
25 to 30 litres are enough. More important than the volume are an attachment system for snowshoes on the outside and a material that does not absorb wet snow. More on this in the Guide to Ultralight Rucksacks and in the Material Lexicon.
Sources
- Evaluation of avalanche accidents from 2005 to 2015 by the WSL Institute for Snow and Avalanche Research SLF (Kurt Winkler, Frank Techel), on the ratio of accident frequency to mortality in snowshoeing and ski touring. sac-cas.ch
- The 10 recommendations of the German Alpine Club for snowshoeing, including emergency equipment, spacing intervals, group size and wildlife protection areas. alpenverein.de
- Slope angle as a triggering factor for avalanches, fundamentals of the WSL Institute for Snow and Avalanche Research SLF. slf.ch
- Snowshoe sizes by body weight, manufacturer recommendation in the Bergzeit Magazine. bergzeit.co.uk
- Image credit slab avalanche: photo by Coronium, Wikimedia Commons, Licence CC BY-SA 3.0, adopted unchanged.